
PLA Filament: What It Does Well, Its Limits, Starting Settings
PLA is almost always the first filament loaded on a new printer, because it forgives rough settings and does not off-gas a strong smell. This page separates what it actually does well from what it does not, and gives the settings you start from before dialing things in.
Find My 3D Printer editorial team·Published September 10, 2026·Updated September 16, 2026·Manufacturer documentation, no hands-on tests claimed

The short answer
PLA prints easily between roughly 190 and 230 °C at the nozzle depending on the manufacturer's profile, with a bed around 55-60 °C; it deforms once a part gets hotter than its fairly low heat deflection temperature. Variants (matte, silk, PLA+, wood- or carbon-filled) change whether the filament needs drying and sometimes which nozzle to use. For a part that must take an impact, sit somewhere hot like a dashboard, or live outdoors, PETG or an ABS/ASA filament is usually the better starting point.
Why PLA is still the logical starting point
PLA (polylactic acid) is made from renewable feedstock and stands out for how forgiving it is to print: low shrinkage, a heated bed that does not need to run hot, and decent tolerance for the default speeds and accelerations most current machines ship with. It is the material most manufacturer slicer profiles put first, including on entry machines like the Bambu Lab A1 or A1 mini.
Its main limit is not print difficulty but mechanical behavior after the part comes off the plate: PLA softens at a fairly low heat deflection temperature, which makes it a poor choice for anything that sits behind glass in summer, near a heat source, or inside a car.
For a first print, that makes it a solid choice for testing a geometry, checking dimensions, or printing a decorative object, an indoor organizer, or a figurine that will not face repeated impact or prolonged heat. This forgiving starting point is also why most beginner guides work through PLA before moving on to more demanding materials.
What starting nozzle and bed settings should you use?
According to the Prusa Knowledge Base, generic PLA typically prints between roughly 190 and 235 °C at the nozzle depending on the brand, with a bed around 60 °C; Prusa recommends a satin or smooth PEI sheet for good adhesion, with glue stick as a fallback on glass or Kapton. Polymaker's PolyLite PLA technical data sheet lists a nozzle range of 190-230 °C and a bed range of 25-60 °C, which shows the window shifts from brand to brand: start from the filament manufacturer's own slicer profile rather than a single fixed number.
These are only starting points: first-layer setup, print speed, and part geometry all call for further adjustment, covered in more detail on the first layer guide.
PLA+, matte, silk, filled PLA: what actually changes?
"PLA+" or "PLA Pro" is not a shared industry standard: every brand uses it for its own blend, usually aimed at better impact resistance, so the specific product's data sheet matters more than the marketing name. Matte PLA mostly changes the surface finish and prints close to standard PLA.
Silk and wood PLA need more attention: Bambu Lab's PLA usage guide states these variants should be dried before printing to avoid bubbles and reduced transparency, with drying times that depend on the equipment used. Carbon-fiber-filled PLA (PLA-CF) requires a hardened-steel nozzle, is not recommended with a 0.4 mm high-flow nozzle, and the same documentation recommends wearing gloves when handling or sanding it because microscopic fibers can be released.
PLA Aero (a foamed, lighter filament) and PLA Glow (phosphorescent) each carry their own nozzle restrictions per Bambu Lab, so it is worth reading the specific filament's guide before reusing standard PLA settings.
Does PLA need to be dried?
Standard PLA absorbs little moisture compared with PETG or nylon and stores normally at 50-60% ambient humidity according to Bambu Lab's documentation, which is why it is rarely dried for everyday use. Filled variants (wood, carbon, translucent, silk) are more moisture-sensitive and benefit from a few hours in a dryer or dry box before printing.
Either way, storing spools in a cool, dry place away from direct light and heat sources avoids surprises even on a spool that has been open for a few weeks. A resealable bag with a small desiccant packet, kept between print sessions, is usually enough for standard PLA and does not require the dedicated dry box that more hygroscopic materials like PETG or nylon call for.
A spool left loaded on an open-frame printer for weeks in a humid room is the one situation where even standard PLA can start showing subtle print-quality issues, so periodically checking a fresh test print against an older one is a cheap way to catch a problem before it affects a longer job.
The most common mistakes with PLA
The first trap is ambient heat: Bambu Lab's documentation notes PLA's heat deflection temperature is low, around 57 °C by their measurement, and a textured plate that runs hot can be enough to soften filament inside the nozzle and cause a clog if the printer previously ran a hotter material. A cold pull on the nozzle before switching back to PLA after ABS or PC avoids this.
The second trap is stringing, those thin threads between printed areas: it rarely comes from the PLA itself but from retraction settings or a nozzle temperature that is too high for the chosen speed. The stringing guide walks through fixing it without starting over.
Is PLA really biodegradable?
PLA is often marketed as biodegradable because it comes from renewable feedstock (corn, sugar cane, sugar beet), but according to the Prusa Knowledge Base, that breakdown only happens in industrial composting facilities where temperatures exceed 80°C, a condition a backyard compost bin never reaches. Tossing PLA scraps into home compost will not make them disappear: the material stays intact and eventually leaves plastic microparticles in the soil.
In practice, unless you have access to a dedicated industrial composting stream, PLA scraps and failed prints should go out with regular plastic waste, or into recycling if your local program accepts PLA. To cut down on wasted material in the first place, dialing in settings ahead of time with the print cost tool or testing a scaled-down part before a long print job goes a long way.
Does silk PLA hold up under load like standard PLA?
Silk PLA gets its glossy look from a different formulation that weakens layer bonding: according to Bambu Lab's documentation, its Z-axis impact strength drops to roughly 8.5 kJ/m², compared with 13.8 kJ/m² for basic PLA, while its XY-plane strength stays about the same. For a purely decorative print that gap does not matter; for a part that needs to carry any load, it does.
The usual fix is to orient the part in the slicer so the main load runs through the XY plane instead of the Z axis, where the layers are weakest. That same orientation logic applies more broadly to functional parts, not just silk PLA: it is worth choosing print orientation before picking a filament variant.
When PLA is not the right call
For a part that lives outdoors, sits near a heat source, or takes repeated impact, PLA is not the right starting material: PETG filament offers better impact resistance and outdoor tolerance, while a need for flexibility points to TPU filament. The PLA vs PETG guide breaks the choice down criterion by criterion.
For anything intended to touch food, no generic PLA should be assumed safe without checking the exact manufacturer data sheet and, where relevant, a validation appropriate to the intended use.
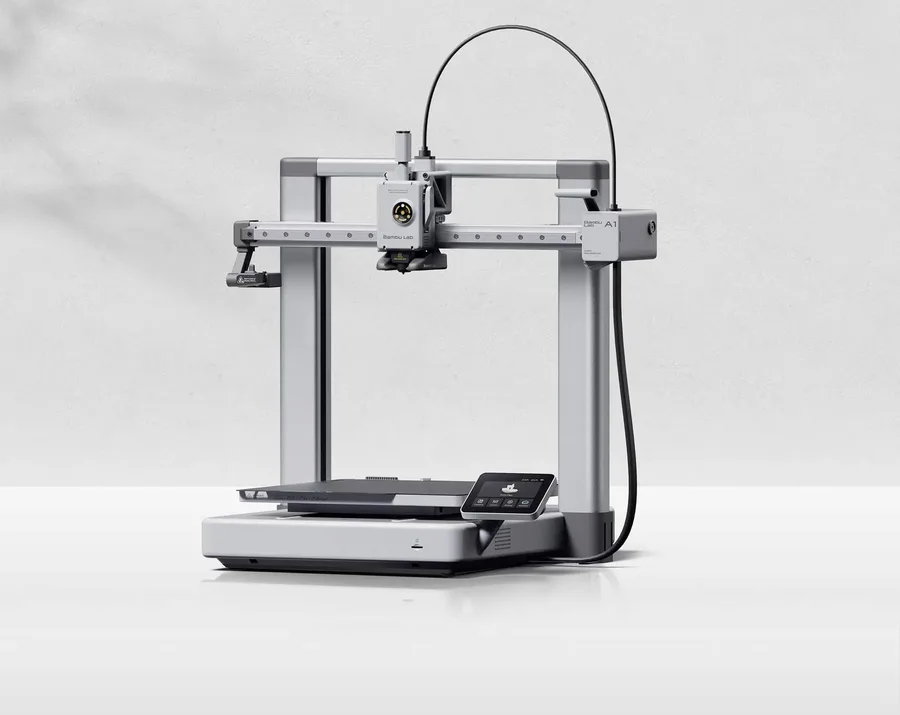
Bambu Lab A1
256 × 256 × 256 mm
More space on every axis than the A1 mini, while keeping the A1 family workflow.
An open frame does not provide the same thermal conditions as an enclosed printer. Choose materials accordingly.
Specifications and seller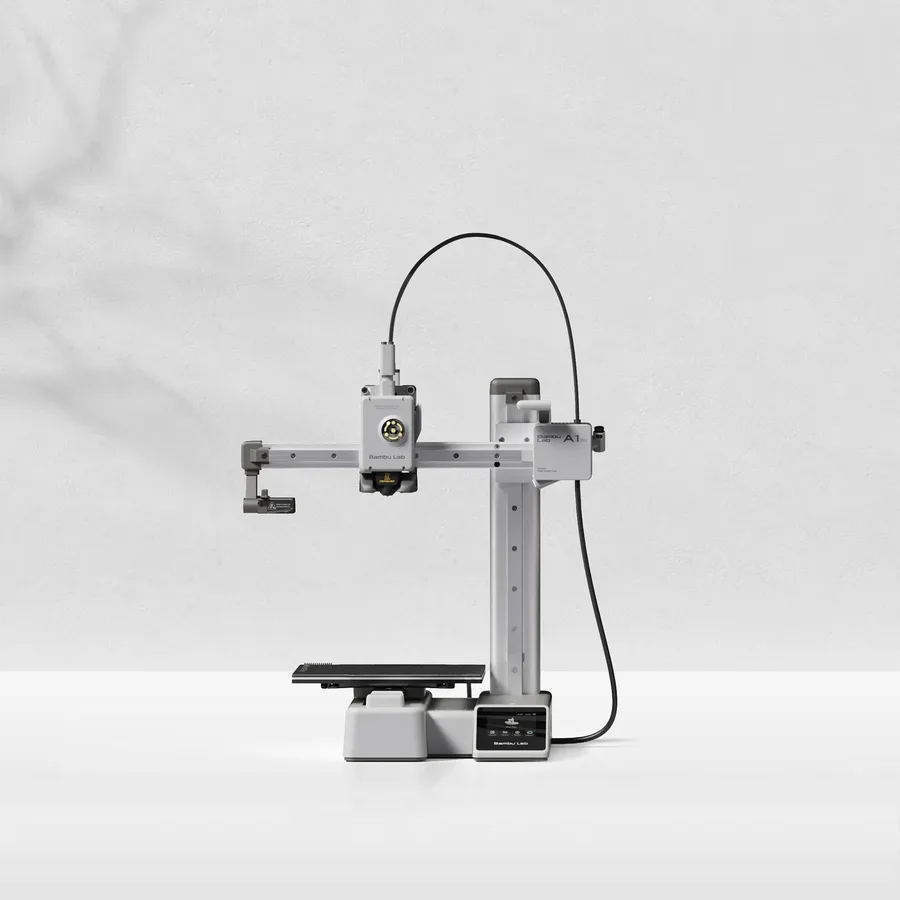
Bambu Lab A1 mini
180 × 180 × 180 mm
A candidate when your models fit within an 18 cm cube, allowing room for supports and the selected orientation.
Larger objects may need splitting and assembly. Check moving-bed clearance as well as the printer footprint.
Specifications and sellerSources and limits
- Prusa Knowledge Base — PLA
- Bambu Lab Wiki — PLA Usage Guide
- Polymaker Wiki — PolyLite PLA
We organize manufacturer and community documentation; we have not measured these products ourselves. The manual for your exact model takes precedence over general guidance.
A clearer shortlist starts with your projects.
Use the free buying checklist and budget worksheet before comparing offers.