
Bambu Studio: Bambu Lab's Official Slicer, AMS, and MakerWorld
Bambu Studio is the software Bambu Lab ships to prepare prints for its own printers. This page covers which machines it supports, how it handles color with the AMS, how it sends jobs to the printer, and how it compares to a derivative slicer like OrcaSlicer.
Find My 3D Printer editorial team·Published September 10, 2026·Manufacturer documentation, no hands-on tests claimed

The short answer
Bambu Studio is Bambu Lab's official slicer, based on PrusaSlicer according to the manufacturer's documentation, and distributed free of charge to prepare prints for the brand's printers, including the A1 mini, A1, P1S, and P2S. It handles filament assignment by AMS slot, multi-color painting on a model, sending the sliced file by SD card, local network, or Bambu Cloud account, and ties into MakerWorld for sharing models and slicing profiles. For a printer from another brand, or for deeper calibration tools, a derivative slicer like OrcaSlicer carries over much of its interface.
What Bambu Studio is
Bambu Studio is Bambu Lab's official slicing software, used to prepare a 3D model for printing on one of the brand's machines. According to the Bambu Lab wiki, Bambu Studio is based on PrusaSlicer by Prusa Research, itself derived from Slic3r and the RepRap community: the software inherits a proven slicing foundation, to which Bambu Lab added project-based workflows, optimized slicing algorithms, and an interface built around its own printers.
The software is free and downloads from the manufacturer's site, with builds for Windows, macOS, and Linux; the wiki recommends 8 GB of RAM (4 GB as an absolute minimum) and a system with OpenGL 2.0 support. To compare how it works against a general-purpose or multi-brand slicer, the choosing a slicer page covers what to weigh depending on how many printer brands you own.
Which Bambu Lab printers are supported
During first launch, Bambu Studio's setup wizard lets you pick the printers and nozzle sizes you want to see in the software's menu, a list you can revisit and change later according to the manufacturer's wiki. It covers the current Bambu Lab lineup.
Among the most common machines are the Bambu Lab A1 mini, the Bambu Lab A1, the Bambu Lab P1S, and the Bambu Lab P2S, each with its own default bed, nozzle, and speed profile. Every profile stays specific to the selected model: mixing one machine's settings with another model's profile risks temperatures or speeds that were never tuned for it.
Connecting the software to the physical printer goes through a binding step, described by the manufacturer as a prerequisite for sending a print job, monitoring the machine's status, and controlling it remotely. Binding can be done from the Bambu Handy mobile app, presented by the wiki as compatible with every printer series from the brand, or directly from Bambu Studio on the desktop.
Profiles, presets, and 3MF projects
Bambu Studio ships filament and process presets (layer height, speed, infill) tied to each printer, which can be edited or duplicated to build a custom preset. The list of filaments shown in the selection menu can also be filtered by type to keep only the materials you actually use.
The native project format is 3MF: it stores the model, its position on the bed, the assigned filaments, and the slicing settings together, so a project can be reopened later exactly as it was left. The STL vs. 3MF page covers the differences between the two formats and when to reach for each.
A single 3MF project can hold several build plates, useful for lining up multiple prints without reconfiguring the software each time. The manufacturer's wiki covers a dedicated guide to multi-plate printing, handy for anyone printing several copies of the same part, or several different parts, back to back.
AMS and multi-color painting
With an AMS connected, Bambu Studio automatically builds a match between the filaments in the sliced project and the slots loaded in the AMS, based on color and material type, per the manufacturer's documentation. This match, called AMS mapping, can also be adjusted manually slot by slot before sending the print job.
To design a model in several colors, the software includes a color-painting tool that works directly on the 3D model, in addition to assigning a filament per part or object in the side list. The Bambu Lab wiki notes that switching filament leaves a small amount of residual material in the nozzle at each transition, purged through a calculated flushing volume meant to limit waste while avoiding a visible color mix.
Network sending, cloud, and LAN mode
Per the manufacturer's quick start guide, a sliced file can reach the printer in several ways: through the Bambu Cloud account once logged in, by direct PIN binding on P and A series printers, by IP address and access code when the printer is set to LAN mode, or exported to a micro SD card inserted into the printer.
LAN mode and IP-based binding are documented by Bambu Lab as methods suited to an isolated network or a setup without internet access; the exact feature set available in each mode is worth checking against the documentation for the specific printer model, since it can differ from one machine to the next.
Bambu Studio vs. OrcaSlicer
Bambu Studio remains the most direct option for anyone running only Bambu Lab printers: updates ship in step with new machines from the brand, integration with MakerWorld and the AMS is native, and official support is available. The OrcaSlicer page covers this open-source fork, which carries over much of Bambu Studio's interface while adding compatibility with other brands and a more extensive calibration suite.
The choice between the two mostly comes down to your printer lineup: staying on Bambu Studio keeps official updates simple to track, while switching to a derivative like OrcaSlicer starts to make sense as soon as a second printer brand enters the shop.
First slice, step by step
After installation, the setup wizard asks you to pick your account region, the printers to show in the software, and the filaments to surface in the preset list. You then install the Bambu network plug-in, needed for sending over WLAN, remote monitoring, and syncing settings with your user account. Once the printer is bound to the software, either by PIN code or by IP address in LAN mode depending on the model, a new project opens from its dedicated icon. The model to print is imported by drag-and-drop or the add button, in formats including 3MF, STL, STEP, and OBJ. You then select the printer, filament, and process preset from the three dropdown menus on the right-hand panel, with a 0.20 mm layer height suiting most first prints according to the manufacturer. The slice button calculates the G-code and shows a preview with the estimated time, before you send the file to the printer or export it to an SD card.
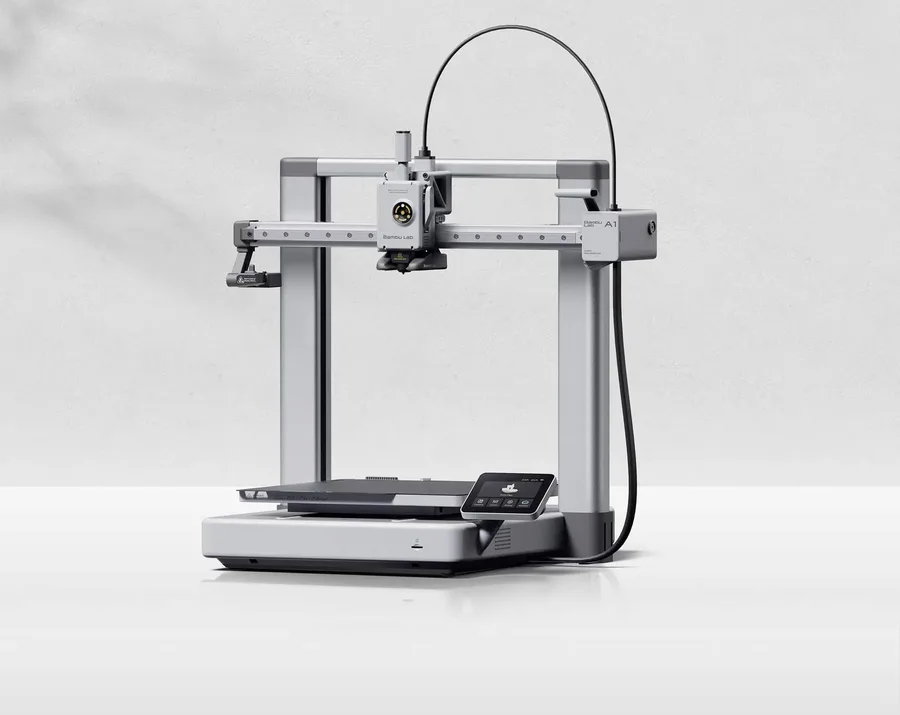
Bambu Lab A1
256 × 256 × 256 mm
More space on every axis than the A1 mini, while keeping the A1 family workflow.
An open frame does not provide the same thermal conditions as an enclosed printer. Choose materials accordingly.
Specifications and seller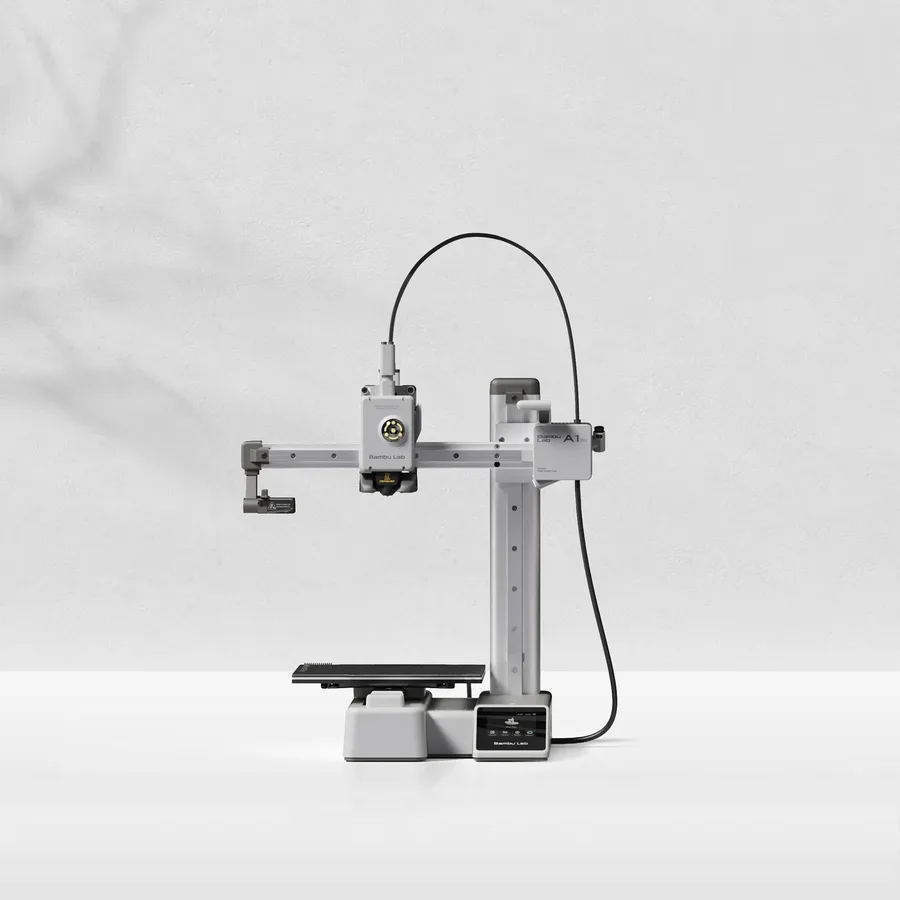
Bambu Lab A1 mini
180 × 180 × 180 mm
A candidate when your models fit within an 18 cm cube, allowing room for supports and the selected orientation.
Larger objects may need splitting and assembly. Check moving-bed clearance as well as the printer footprint.
Specifications and seller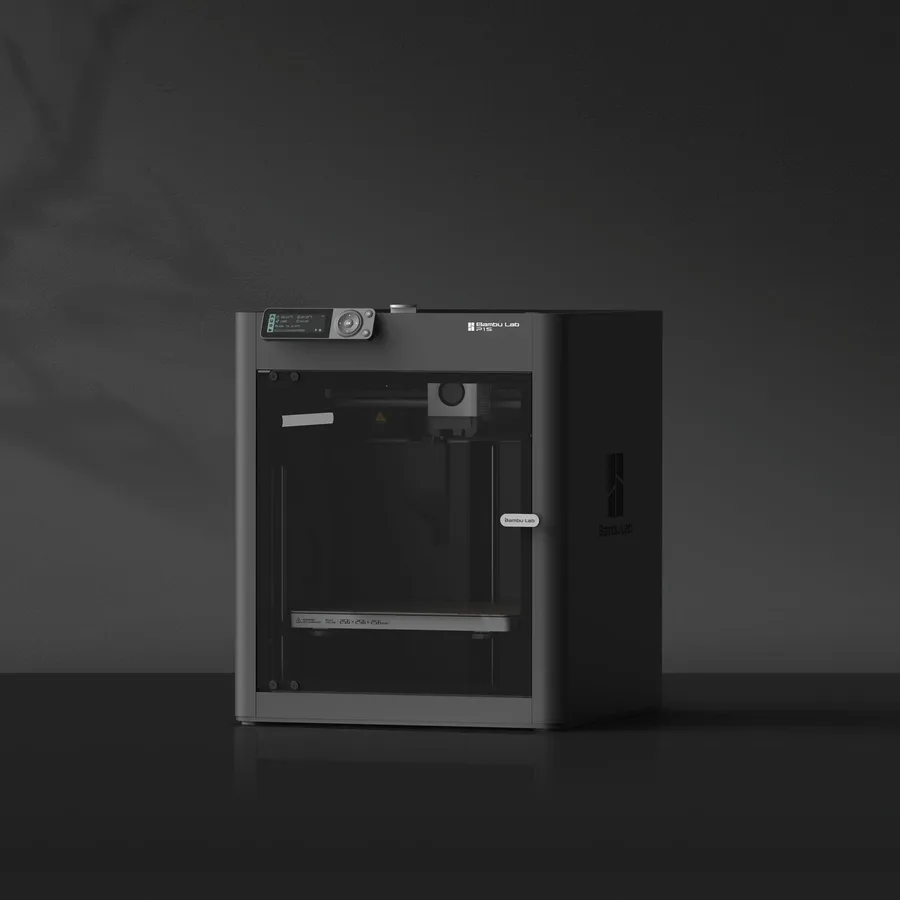
Bambu Lab P1S
256 × 256 × 256 mm
The same nominal volume as the A1, with an enclosure and a different motion system.
Check the precise AMS version, adapters and accessories included. Enclosure alone does not establish material suitability.
Specifications and seller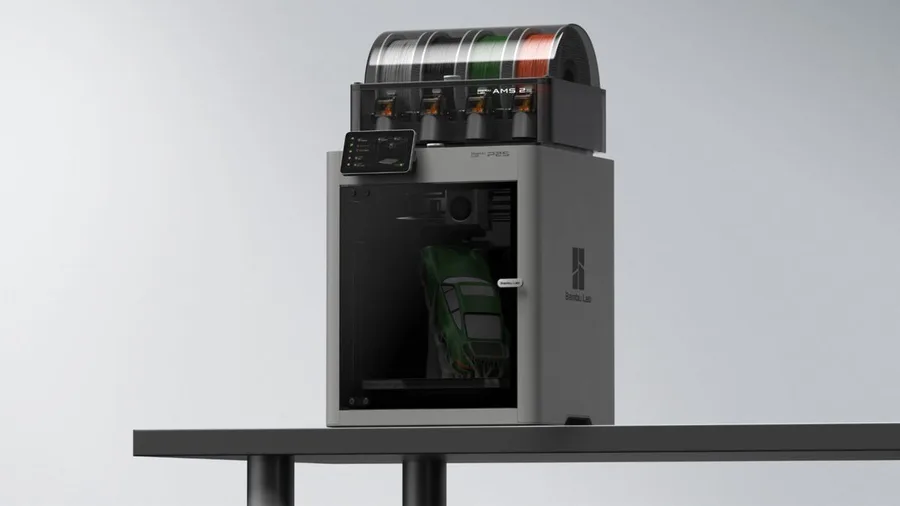
Bambu Lab P2S
256 × 256 × 256 mm
The enclosed frame, hotend up to 300°C and bed up to 110°C support a broader material discussion than an open-frame machine.
AMS 2 Pro and drying capabilities depend on the package selected. Advertised automation is not a measured reliability score.
Specifications and sellerSources and limits
- Bambu Lab Wiki — Bambu Studio Quick Start Guide
- Bambu Lab Wiki — Multi-Color Printing (filaments, AMS mapping)
- Bambu Lab Wiki — MakerWorld
- GitHub — SoftFever/OrcaSlicer (comparison, fork history)
We organize manufacturer and community documentation; we have not measured these products ourselves. The manual for your exact model takes precedence over general guidance.
A clearer shortlist starts with your projects.
Use the free buying checklist and budget worksheet before comparing offers.