
OrcaSlicer: The Open-Source Slicer With Built-In Calibration
OrcaSlicer has become one of the most widely used open-source slicers, driven by an active contributor community and a steady release cadence. This page covers what it does, who it fits, which printers it supports, and how to run a first slice.
Find My 3D Printer editorial team·Published September 10, 2026·Manufacturer documentation, no hands-on tests claimed

The short answer
OrcaSlicer is a free, open-source slicer released under the AGPLv3 license, built by SoftFever and the community on top of Bambu Studio and PrusaSlicer, with ideas drawn from Cura and SuperSlicer, according to the project's GitHub repository. It ships with ready-made profiles for many printer brands, including Bambu Lab, Creality, Elegoo, Anycubic, and Prusa, and a suite of calibration tests built directly into the interface: temperature towers, flow rate, pressure advance, retraction, and more. It suits anyone running printers from more than one brand, or anyone who wants finer control than the stock manufacturer profiles offer.
What OrcaSlicer is
OrcaSlicer is a slicer, the software that turns a 3D model into G-code an FDM printer can run. Per the project's GitHub documentation, OrcaSlicer began in the same collaborative tradition as the open-source slicers before it, drawing on Bambu Studio and PrusaSlicer, with ideas inspired by Cura and SuperSlicer, before growing its own set of calibration tools and advanced features. The project is released under the AGPLv3 license and maintained by SoftFever alongside an active contributor community.
The repository describes it as a 'next-gen' slicing application, built around fast slicing, refined support generation, and broad printer compatibility. Per that same repository, OrcaSlicer has grown into one of the most widely used and actively developed open-source slicers in the 3D printing space, to the point that several of its calibration features have since been picked up by other slicing applications.
The result sits between a single-brand manufacturer slicer and a fully generic one, a distinction covered on the choosing a slicer page: OrcaSlicer keeps an interface close to Bambu Studio while opening compatibility to many other printer brands and adding settings not always found in a proprietary slicer.
Who OrcaSlicer is for
OrcaSlicer targets people running printers from more than one brand who want a single application for all of them, as well as existing Bambu Studio or PrusaSlicer users looking for deeper calibration tools without switching interfaces. Owners of Klipper-controlled printers also benefit from its network integration, documented in the project's repository, for sending files and monitoring prints.
A first-time owner setting up their very first printer can use it without trouble, but the depth of its calibration tools really pays off once the basics are covered: default profiles work fine to get started, and the built-in calibrations become useful once you want to fix a specific defect or dial in a less common filament.
Which printers are supported
OrcaSlicer's GitHub repository publishes profile folders organized by brand, covering BBL (Bambu Lab), Creality, Elegoo, Anycubic, Prusa, Voron, RatRig, and dozens of other manufacturers, each with a profile per printer model and nozzle size. This broad compatibility is highlighted by the project itself as one of its main advantages over a manufacturer slicer locked to a single brand.
Printers covered include, for example, the Bambu Lab A1, the Elegoo Centauri Carbon 2, and the Creality K1C 2025. If a specific model is still missing, a custom profile can be built from a similar one, a process covered in the project wiki's profile-creation guide.
Alongside stable releases, the project also publishes nightly builds dedicated to belt (conveyor) printers, with a slicing pipeline adapted to a tilted bed and ready-to-use profiles for this still-uncommon printer type. This support remains experimental and separate from the main branch, per the project's GitHub repository.
Built-in calibration, OrcaSlicer's standout feature
The OrcaSlicer wiki's calibration guide lays out a recommended order: nozzle and bed temperature first, then maximum volumetric speed, pressure advance (with an adaptive variant for different speeds and geometries), flow ratio, retraction, and then more advanced tests like cornering (jerk and junction deviation), input shaping, and a VFA speed test to find mechanical resonance points.
Each test runs off a print generated directly by the software, with no external file to download: a temperature tower prints several sections at different degrees, a flow test adjusts the extrusion ratio, and so on. This built-in approach, documented by the project, saves you from juggling several third-party tools to dial in a printer in depth.
OrcaSlicer vs. Bambu Studio: what's different
The two applications share a direct lineage: per OrcaSlicer's GitHub repository, the project started from Bambu Studio's code, which is itself derived from PrusaSlicer. The dedicated Bambu Studio page covers its official workflow, centered on the Bambu Lab ecosystem, the AMS, and cloud or LAN sending to Bambu printers.
OrcaSlicer keeps a similar interface but widens compatibility to other brands and adds the calibration suite described above, plus network support for Klipper, PrusaLink, and OctoPrint. The network plugin needed for Bambu Lab-specific features remains optional and relies on proprietary Bambu Lab libraries, per the project's repository, so it is not required for other brands.
First slice, step by step
Installation happens from the project's official website or, depending on the platform, through a package manager such as Homebrew on Mac or Flathub on Linux. On first launch, you pick your printer and nozzle diameter from the list of built-in profiles, then choose the filament type from the available presets. Next you import the model to print, typically in STL or 3MF format, by dragging it into the main window or using the add button. The software offers a simple mode with the essential settings, or an expert mode that exposes the full parameter set. Once the model sits on the virtual bed, the slice button calculates the G-code and shows a preview with the estimated print time and filament needed. From there, you export the file to an SD card or USB drive, or send it straight to the printer if a network connection is set up, keeping in mind that the STL vs. 3MF choice affects what gets preserved in the exported file.
Where to find and import additional profiles
The built-in profiles already cover most common needs and get updated with every new software release. The project wiki also offers a guide for building a custom profile starting from an existing one, useful for a printer still missing from the list or for a filament with very specific settings.
Project files exported as 3MF preserve the settings used and can be reshared or reimported as-is, which makes it easy to reproduce a configuration that already works well. To organize a growing library of models and profiles, the 3D print files page covers the common formats and how each one is used.
A Python plugin system, added in recent releases according to the project wiki, also opens the door to community extensions distributed locally or through an online repository. As with any third-party script run by a slicer, it's worth installing only plugins with a traceable source and reviewable community feedback before enabling them on a production setup.
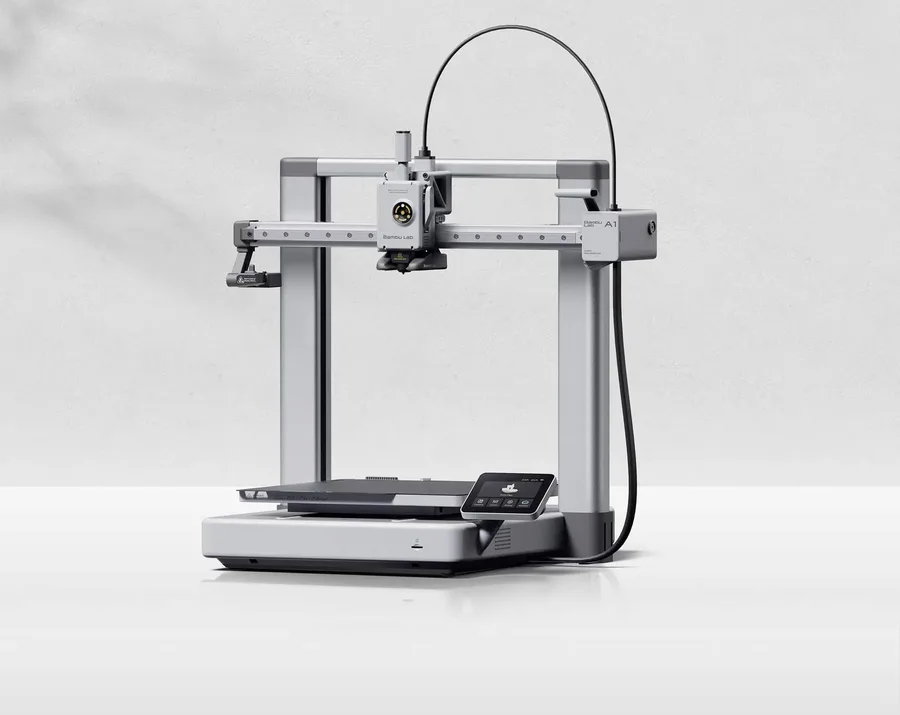
Bambu Lab A1
256 × 256 × 256 mm
More space on every axis than the A1 mini, while keeping the A1 family workflow.
An open frame does not provide the same thermal conditions as an enclosed printer. Choose materials accordingly.
Specifications and sellerCreality K1C 2025
220 × 220 × 250 mm
An enclosed format with different dimensions from 256 mm printers; manufacturer-specified hotend up to 300°C.
Distinguish the original K1C from K1C 2025. Check accessories and regional delivery before ordering; check the exact bundle in the manufacturer’s US listing.
Specifications and seller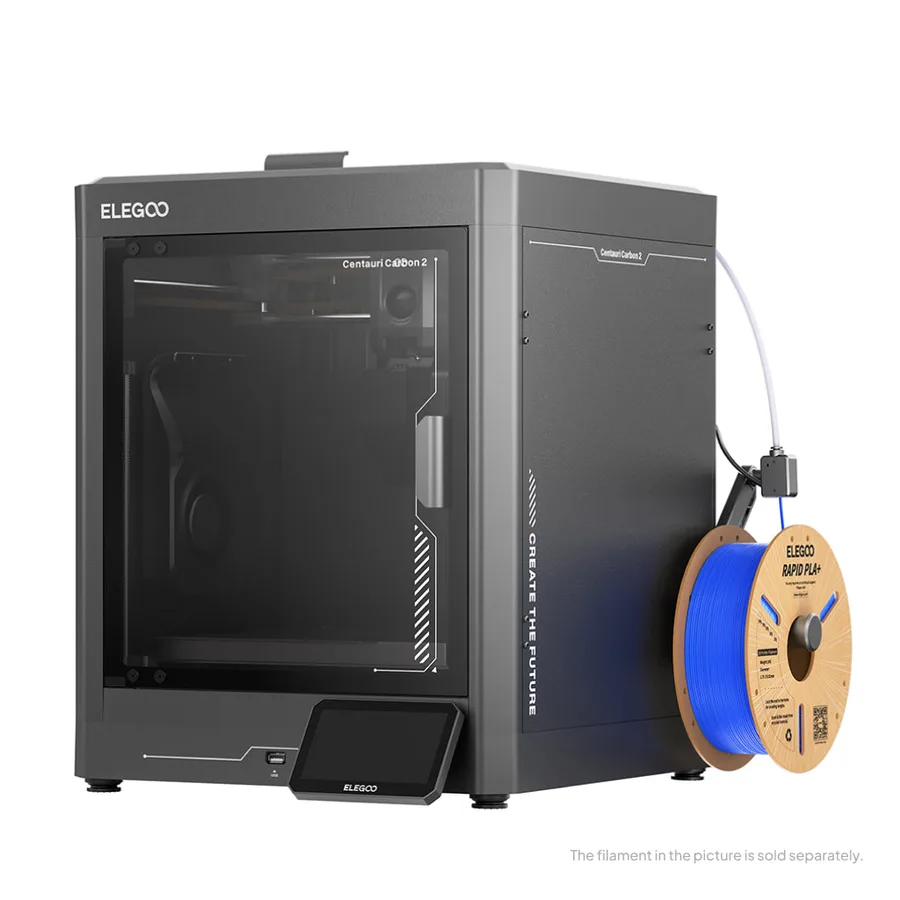
Elegoo Centauri Carbon 2
256 × 256 × 256 mm
Another manufacturer to compare when you need an enclosed machine in the 256 mm build-volume class.
Carbon, Carbon 2 and Carbon 2 Combo are different listings. Confirm the complete package before comparing prices.
Specifications and sellerSources and limits
- GitHub — SoftFever/OrcaSlicer (main repository, license, history)
- OrcaSlicer Wiki — Calibration Guide
- GitHub — OrcaSlicer resources/profiles (profiles by brand)
- Bambu Lab Wiki — Bambu Studio Quick Start Guide
We organize manufacturer and community documentation; we have not measured these products ourselves. The manual for your exact model takes precedence over general guidance.
A clearer shortlist starts with your projects.
Use the free buying checklist and budget worksheet before comparing offers.