
Bed Leveling: What It Actually Fixes and How to Do It
A first layer that sticks fine on one side of the plate and not the other is almost always a leveling problem, even on a machine with an automatic sensor. This page covers what leveling actually corrects, how to run a manual paper-method calibration, and how often to revisit it.
Find My 3D Printer editorial team·Published September 10, 2026·Updated September 16, 2026·Manufacturer documentation, no hands-on tests claimed

The short answer
Automatic bed leveling builds a height mesh that the firmware uses to adjust Z during printing; it does not replace mechanical leveling once the gap between corners exceeds the mesh's compensation range. On force-sensor machines like the Bambu Lab A1 and P1S, the nozzle taps the plate at multiple points to build that mesh, which assumes a clean nozzle and plate. On a manual machine, the paper method is still the standard approach, with Z-offset calibrated separately afterward, at temperature.
Mechanical leveling and mesh compensation are not the same thing
Mechanical leveling means adjusting the physical position of the bed (or the head, depending on the machine) so its surface runs parallel to the X and Y axes. Mesh bed leveling changes nothing mechanically: the firmware probes a grid of points across the plate, builds a map of height differences, then adjusts Z during printing to follow those variations.
According to the Prusa Knowledge Base, the Bed Level Correction feature compensates for residual imperfections by virtually raising or lowering the bed on its left, right, front, and back sides, within a range of plus or minus 100 microns. That range is intentionally limited: it catches small leftover deviations, not a genuinely warped or poorly mounted plate, which needs mechanical adjustment first.
That is why a badly warped plate keeps causing problems even on a machine with automatic leveling: the firmware can follow a gentle slope, but it cannot compensate for a significant warp without sacrificing first-layer height in some spots.
How do auto-leveling printers actually work?
Printers with automatic bed leveling do not all use the same sensor technology. On the Bambu Lab A1 and P1S, Bambu Lab's documentation describes strain gauges (force sensors) mounted under the plate: the nozzle taps the surface at a grid of points, and the sensor detects contact at each one to build the height mesh. Other brands such as Creality or Anycubic fit part of their lineup with inductive probes mounted near the nozzle that measure distance to the plate without touching it; the output in both cases is a comparable compensation map.
Either way, how reliable the measurement is depends on how clean the nozzle and plate are at the time of probing. Bambu Lab's troubleshooting page for A1-series leveling failures notes that filament residue on the nozzle or debris on the plate throws off contact detection and can fail the leveling cycle before the print even starts.
Why auto-leveling does not replace a clean plate and a correct Z-offset
Auto-leveling corrects a height map, not the reference height itself; that is the job of Z-offset (or Live-Z, depending on the brand), which sets the gap between the nozzle tip and the plate at the very start of the first layer. A perfectly calculated mesh with a Z-offset set too high still gives a first layer that will not stick; one set too low crushes the filament or scratches the plate, regardless of how good the auto-leveling is.
A greasy or dusty plate also throws off a force sensor's contact reading or an optical probe's reflection, which can shift the calculated mesh slightly. The cleaning method suited to each surface is covered on the bed adhesion page, before leveling even comes back into the picture.
Z-offset calibration is best done at printing temperature, with a hot nozzle and bed: metal expands slightly as it heats up, so a value set cold can end up slightly off once the machine reaches working temperature.
The paper method for manual bed leveling
On a machine without an automatic sensor, or to check the mechanics before trusting a mesh, the paper method is still the standard reference. Start by heating the bed and nozzle to the intended printing temperature, since thermal expansion slightly shifts heights measured cold. Then slide a standard sheet of paper between the nozzle and the plate, directly under each leveling screw, usually located at each of the four corners.
For each corner, lower the nozzle until it nearly touches the plate, then turn the leveling screw until you feel light friction as you slide the paper back and forth: not enough resistance to jam the paper, but not a completely free slide either. Repeat at all four corners, then recheck the first corner, since adjusting one corner slightly changes the plate's overall tilt.
Once the mechanics look right, rerun the Z-offset routine or the slicer's first-layer test, because the paper method sets the plate's parallelism, not the exact first-layer distance. The first layer guide covers how to dial in that distance once the plate is level.
Symptoms of a badly leveled bed
A poorly leveled bed shows up as an uneven first layer rather than a uniform defect: one corner where the filament forms a thin, translucent line that does not fuse into the next pass, opposite a corner where the nozzle scrapes the plate, leaves marks, or even jams extrusion. A part that consistently peels off the same corner of the plate while the rest adheres fine almost always points to a leveling gap rather than a pure adhesion problem.
On an auto-mesh machine, repeated leveling-cycle failures at startup, or an error message mentioning contact detection, usually point to a hardware issue (a dirty nozzle, a dirty plate, sensor wiring) rather than a setting that just needs redoing.
PINDA, SuperPINDA, LoadCell: How Prusa's Leveling Sensor Has Evolved
According to the Prusa Knowledge Base, MK2/S through MK3S+ printers level their bed with a PINDA sensor, later SuperPINDA on newer revisions, a contactless inductive sensor that measures distance to the plate across a grid of points, with a density setting ranging from 3x3 (9 points) to 7x7 (49 points), adjustable in the Mesh Bed Leveling menu. The number of measurements per point (1, 3, or 5) is also set there; Prusa recommends 3 or 5 measurements, with the final value averaged, which lengthens the cycle but lowers the risk of a single bad reading.
On these models, a feature called "Magnet comp." deliberately ignores three measurement points too close to the bed's magnets in 7x7 mode, since their reading can be off by up to 80 microns according to Prusa; those points are instead recalculated from neighboring ones. The newer MK4/S, MK3.9/S, and XL drop the inductive sensor for a LoadCell that detects mechanical contact between the nozzle and the steel sheet, and only measures height within the area actually used by the current print, worth keeping in mind when reading the first-layer test.
Prusa's Error Messages for a Failed Automatic Leveling Cycle
On MK2.5/MK2.5S and MK3/MK3S+ printers, the "Bed leveling failed" error appears during the last stage of XYZ calibration, which reruns before every print, and breaks down, per the Prusa Knowledge Base, into three distinct messages. "Sensor didn't trigger. Debris on nozzle?" flags a sensor that never triggers, usually from plastic residue on the nozzle or bed. "Sensor triggered too high" most often points to a hotend that isn't fully seated in the extruder, throwing off the reference height.
The third message, "Sensor disconnected or cable broken," points to a wiring issue: Prusa recommends checking that the PINDA sensor is properly plugged into the control board and inspecting the cable for an overtightened zip tie that could be damaging it. In all three cases, rerunning a full Z calibration from the LCD menu (Calibration, then Calibrate Z) resolves most cases before a part needs replacing.
How often should you level a printer?
On an auto-leveling machine, the mesh is generally recalculated before every print or on a firmware-adjustable schedule, which limits how often manual intervention is needed day to day. A mechanical check is still worth doing after moving the printer, swapping the plate, a knock to the frame, or if auto-leveling failures become frequent despite a clean plate.
On a manual machine, rechecking leveling every few weeks of regular use, or as soon as an uneven-adhesion symptom shows up, keeps you from piling adjustments onto other settings when the real cause is the plate.
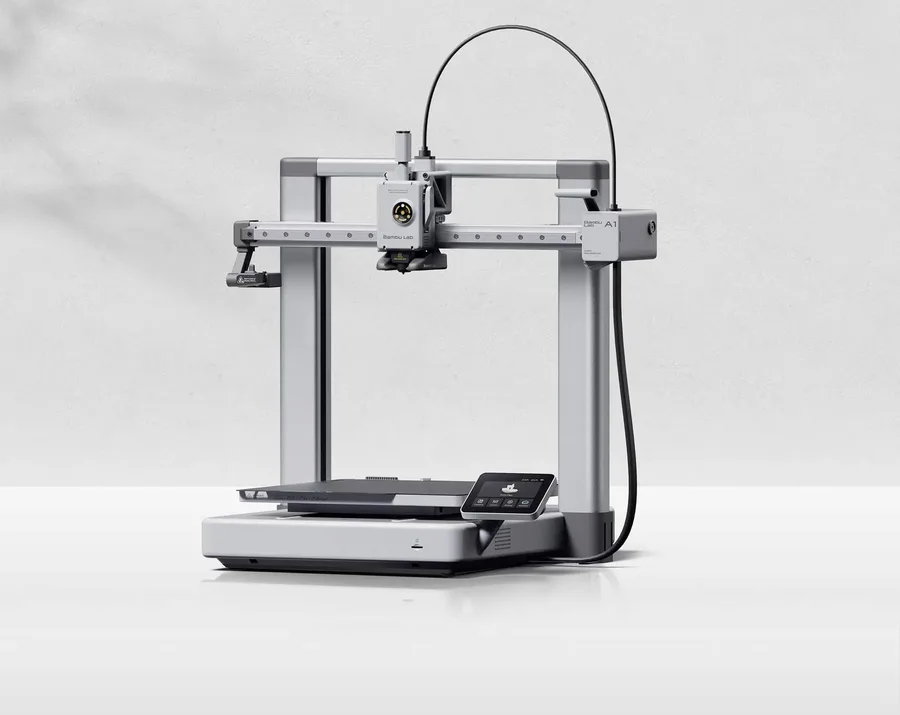
Bambu Lab A1
256 × 256 × 256 mm
More space on every axis than the A1 mini, while keeping the A1 family workflow.
An open frame does not provide the same thermal conditions as an enclosed printer. Choose materials accordingly.
Specifications and seller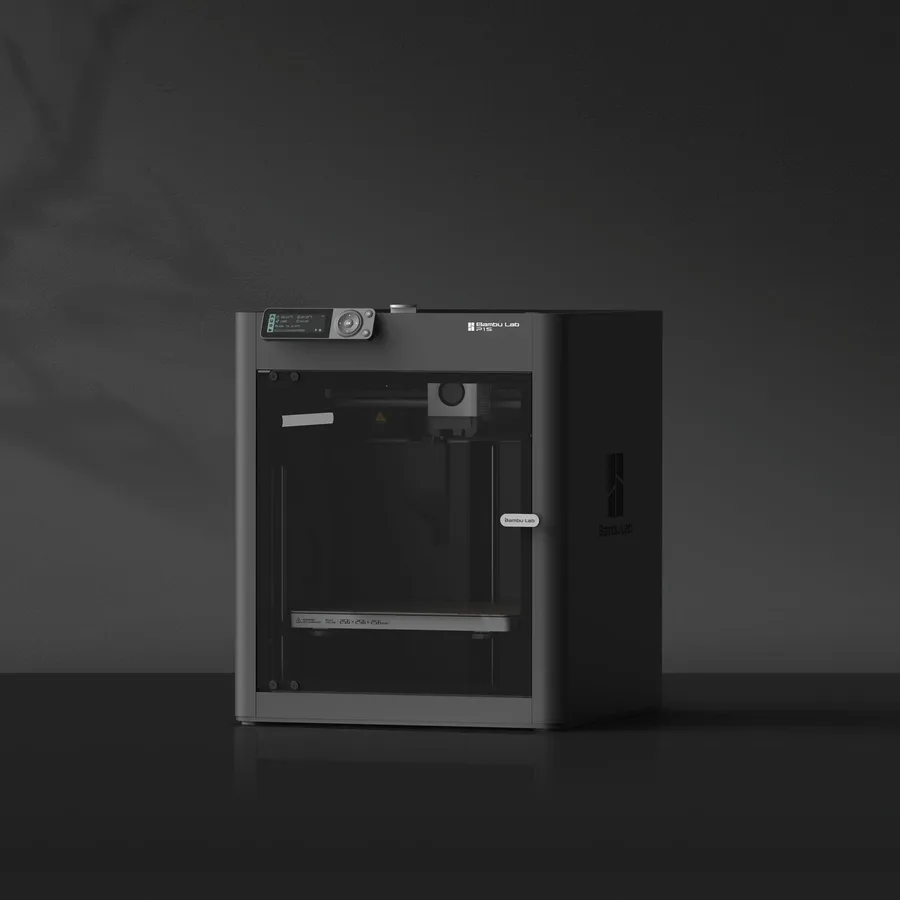
Bambu Lab P1S
256 × 256 × 256 mm
The same nominal volume as the A1, with an enclosure and a different motion system.
Check the precise AMS version, adapters and accessories included. Enclosure alone does not establish material suitability.
Specifications and sellerSources and limits
- Prusa Knowledge Base — Bed Level Correction
- Bambu Lab Wiki — A1 Homing and Leveling Failure Troubleshooting
- Bambu Lab Wiki — A1 Manual Bed Tramming
- Prusa Knowledge Base — Mesh bed leveling
- Prusa Knowledge Base — Bed leveling failed
We organize manufacturer and community documentation; we have not measured these products ourselves. The manual for your exact model takes precedence over general guidance.
A clearer shortlist starts with your projects.
Use the free buying checklist and budget worksheet before comparing offers.