
3D Printer Power Consumption: Rated Power vs Real Draw
The power rating on a 3D printer's spec sheet and the actual draw measured during a print are two different numbers, and they're often mixed up. This guide uses figures Bambu Lab publishes for its A1 and P1S models to explain that gap and give ballpark figures, without converting anything into dollars.
Find My 3D Printer editorial team·Published September 16, 2026·Manufacturer documentation, no hands-on tests claimed

The short answer
The maximum power listed on a spec sheet, such as 1300W for the A1 or 1000W for the P1S at 220V per Bambu Lab, reflects a heating spike from the bed at startup rather than the draw during printing, which settles to an average around 95 to 105W on PLA and 140 to 200W on ABS depending on the model, per the manufacturer's published measurements. Line voltage mostly affects how fast the bed heats up rather than the total energy used across a full print, and turning those watts into an actual cost requires knowing a household's own electricity rate, which is exactly what the site's print-cost tool does instead of a generic figure.
Rated power and average draw are two different numbers
A printer's spec sheet almost always lists a maximum power rating, which reflects the highest current draw the machine can pull, typically when the heated bed is starting up from cold. That figure doesn't represent what the printer draws continuously once the bed and nozzle are up to temperature, when draw drops sharply since the heating elements only cycle briefly to hold heat rather than running constantly.
Per Bambu Lab's wiki page on printer and AMS power parameters, the Bambu Lab A1's maximum power is 1300W at 220V and 350W at 110V, versus 1000W at 220V and 350W at 110V for the Bambu Lab P1S, which shares that figure with the P1P and X1C per the same source.
What Bambu Lab actually measures during a print
The same document publishes average power measurements taken over roughly 15-to-18-minute real print jobs. For the A1, measured average draw is about 95W on PLA versus about 200W on ABS; for the P1S, it's about 105W on PLA and about 140W on ABS. These figures remain ballpark numbers measured by the manufacturer under one specific protocol, not a guaranteed value across every setup.
The gap between maximum and average power comes down to how the heated bed behaves: it draws heavily during the initial temperature ramp-up, then far less once it reaches its target, with the heating element only kicking back in for short bursts to offset heat loss.
Why ABS draws more power than PLA on these machines
On both the A1 and the P1S, Bambu Lab's measured average draw is higher on ABS than on PLA, mostly because that material needs a higher bed temperature held for the whole print. The open-frame A1 shows a bigger gap between its two measured figures (about 95W on PLA versus about 200W on ABS) than the enclosed P1S, whose housing helps limit heat loss around the bed and chamber.
That lines up with what our 3D printer enclosure page covers: a chamber that loses heat faster makes the bed work harder to compensate, which shows up directly in the measured average draw.
Does line voltage actually change power consumption?
Spec sheets almost always list a maximum power figure at 220-240V and a lower one at 100-120V, which comes down to how the heated bed is wired, often connected close to mains power directly: at a lower voltage, the power available to heat up quickly drops mechanically, which stretches out preheat time rather than changing the total energy needed to reach the same temperature. That's also why a printer's power cord and outlet still need to be rated for the higher figure listed at 120V, even though average draw during printing stays modest, since the startup spike is what the wiring has to handle safely.
Once the target temperature is reached, steady-state average draw depends mostly on the heat that needs maintaining, not on the supply voltage itself. The gap between a 120V and a 240V outlet shows up mainly at the start of a print, not across a full print cycle.
Standby and networking: a small but real share
A printer powered on but not printing still draws a bit of electricity for its electronics and network connection: Bambu Lab's wiki puts that standby draw at roughly 4 to 6W depending on the model and whether Wi-Fi is active. That figure is small next to draw during a print, but it adds up on a machine left powered on between jobs.
An enclosure added to an open machine, with an extra fan for the control board or for chamber temperature regulation, adds its own small draw from those fans, well below the heated bed, which stays the main power draw across an entire print.
Enclosed machines, multicolor feeders, and drying: the extra line items
The same Bambu Lab document shows draw climbing with the class of machine. For an enclosed printer such as the X1C, the measured average goes from about 105W on PLA to 150W on ABS; on the newer heated-chamber machines, the manufacturer lists an average of about 200W on PLA for the P2S, 197W for the H2D, and 250W for the X2D, rising to 395W (H2D) or 550W (X2D) on polycarbonate, a material that needs the chamber kept hot. The general rule holds: the more heat a material needs, the higher the average.
The multicolor feeder gets its own row in that table: Bambu Lab puts an AMS at roughly 1W on standby and about 4 to 12W while working depending on the generation, which is marginal. Built-in drying is a different scale: the manufacturer lists about 80W for the AMS 2 Pro's drying mode and 170W for the AMS HT, more than the print itself draws on PLA with an A1. A filament dryer running for several hours before a print therefore weighs more on the bill than most people expect.
Finally, the high-power machines offer a low power mode that caps the current draw, around 750 to 860W depending on the series per Bambu Lab, which helps on a shared 120V circuit. That cap applies to the heating spike, not to the average during the print.
Measuring your own draw instead of trusting a generic number
Figures a manufacturer publishes are measured under one specific protocol, with a given test object and duration, which can differ from a longer real print with more head travel or denser infill. A plug-in wattmeter or a smart outlet placed between the wall socket and the printer gives a direct reading specific to a particular setup and settings, rather than a generic estimate. Most smart plugs report both instantaneous wattage and cumulative energy use, which makes it easy to log a full print from start to finish rather than relying on a single spot reading taken mid-print.
That measurement stays the most reliable way to know the real draw of a specific print, especially one running for several hours with dense infill sections or repeated bed reheating across multiple parts on the same plate.
Turning watts into a real print cost
Converting a wattage figure into an actual cost requires knowing a household's own electricity rate, which varies by provider, time of day, and plan, making any generic dollar figure misleading from one household to the next. Our print-cost tool starts from a print's measured or estimated power draw, combined with each user's own rate, rather than a fixed amount that wouldn't match any real situation.
Before estimating a cost, it's worth starting from the ballpark power figures covered here, measuring an actual printer when possible, then running that number through the tool for an estimate specific to a given setup rather than a number found elsewhere without context.
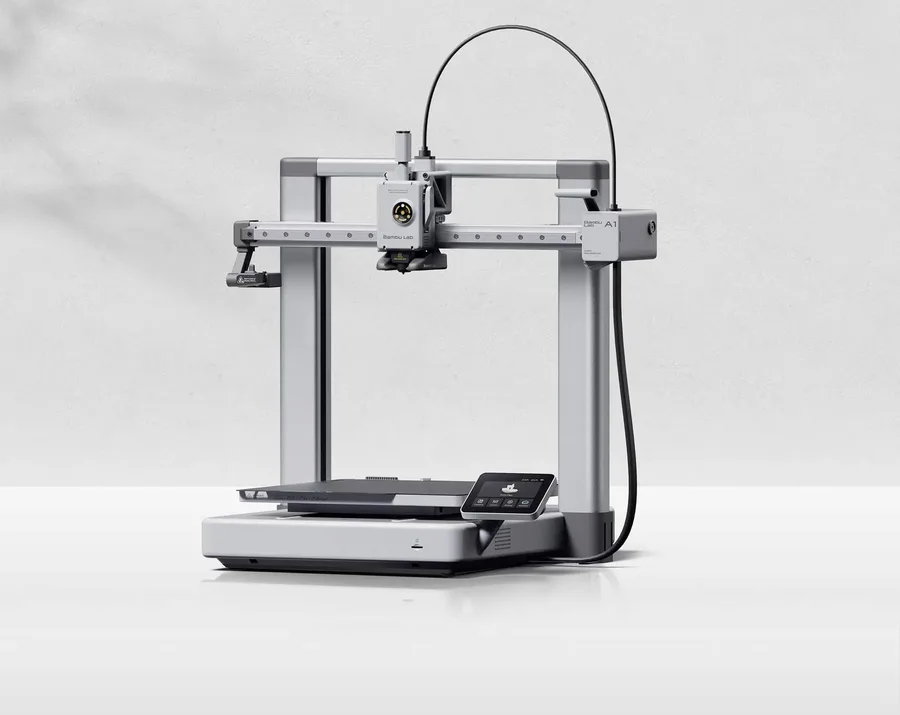
Bambu Lab A1
256 × 256 × 256 mm
More space on every axis than the A1 mini, while keeping the A1 family workflow.
An open frame does not provide the same thermal conditions as an enclosed printer. Choose materials accordingly.
Specifications and seller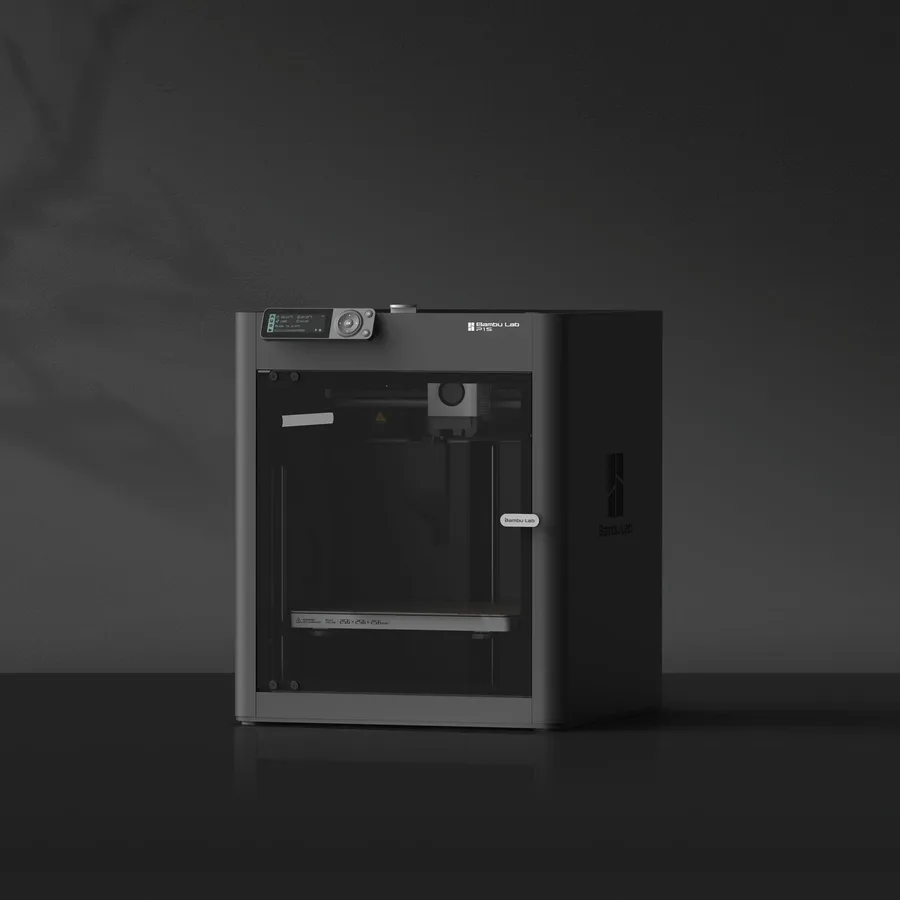
Bambu Lab P1S
256 × 256 × 256 mm
The same nominal volume as the A1, with an enclosure and a different motion system.
Check the precise AMS version, adapters and accessories included. Enclosure alone does not establish material suitability.
Specifications and sellerSources and limits
- Bambu Lab Wiki — Printer and AMS power parameters
- Bambu Lab — A1 Technical Specifications
We organize manufacturer and community documentation; we have not measured these products ourselves. The manual for your exact model takes precedence over general guidance.
A clearer shortlist starts with your projects.
Use the free buying checklist and budget worksheet before comparing offers.