
Prusa CORE One First Print Setup: Homing Calibration and Regular Maintenance
You just unboxed a Prusa CORE One and want it running right from day one. This guide follows Prusa's own documentation through homing calibration, what to check when homing fails, and the maintenance schedule that keeps the machine reliable, from quick pre-print checks to electrical connector inspections.
Find My 3D Printer editorial team·Published November 7, 2026·Manufacturer documentation, no hands-on tests claimed

The short answer
On the Prusa CORE One, homing calibration is started manually from the printer screen through LCD Menu, Control, then Autohome whenever warning #31120 appears. If the axes struggle or make grinding noises, Prusa's documentation says to check the motor pulley grub screws, make sure the axes move freely with the power off, and look for obstructions. Before every print, Prusa recommends cleaning the printer, the nozzle and the print sheet. Every 200 print hours you should check the axes, belt, fans and extruder, and every 600 to 800 hours you should inspect the electrical connectors.
Get the Printer Ready Before Your First File
Before you send your first print, give the CORE One a quick once-over. According to Prusa's documentation, debris always ends up collecting around the moving parts and under the heatbed: filament scraps, dust, broken supports. On a brand-new machine, it's more likely to be leftover packing material. A brush, a small broom or a vacuum takes care of it. Make this a habit, since Prusa lists it as a check to do before every print.
Next, confirm that the print head and bed can move freely. With the printer powered off, gently push them by hand and feel for any binding. Set aside the tube of Prusa Lubricant that ships with the printer. You'll use it on the Y-axis smooth rods and the Z-axis leadscrews, but never on the X-axis linear rail. Keep the basics within reach too: Allen keys, needle-nose pliers, isopropyl alcohol and paper towels, the standard tools Prusa mentions. For a refresher on what the machine offers, see the Prusa CORE One overview.
Running Homing Calibration From the Menu
Homing sends each axis back to its reference position. It's how the printer knows exactly where the print head is, and it's what makes your prints repeatable. According to the Prusa Knowledge Base, the CORE One can display a warning with code #31120 telling you that homing calibration is required for precise, repeatable axis homing. One quirk to know about: unlike many other warnings, this one doesn't let you start the process straight from the dialog on screen.
You have to go through the menu instead. On the printer screen, navigate to LCD Menu, then Control, then Autohome. The printer will move through its axes. If every axis homes smoothly and correctly, the warning should clear once calibration succeeds. Stay next to the printer while it runs and listen. Steady, even movement is what you want. Jerky motion, a machine that seems to strain, or grinding noises point to a likely mechanical issue. When that happens, don't just rerun calibration over and over hoping the warning goes away. Track down the cause first, before you print anything.
When Homing Fails: Pulleys, Axes and Obstructions
Prusa lists three things to inspect when homing goes wrong. Start with the motor pulley grub screws. Each pulley has two set screws, and one of them must line up with the flat part of the motor shaft. A loose screw lets the pulley slip, which throws off positioning. Prusa gives a handy visual check for the CORE One: looking from the front on the left side, the belt teeth sit above the set screws. On the right side, they sit below them.
Next, check axis alignment. With the printer off, the print head and bed should move without resistance. A tight spot in one place usually means something is rubbing or wasn't assembled quite right. Last, look for obstructions. A stray piece of filament, a tool left inside the enclosure or a bit of packing foam can block movement. If the problem keeps coming back after these checks, Prusa recommends reaching out to its technical support rather than tearing the machine down further. A loose belt can cause similar symptoms, and the belt tensioning guide covers the general approach.
Quick Checks Before Every Print
Prusa's documentation groups three checks under frequent maintenance. The first is general cleanliness, covered above. The second is the hotend. Gunk stuck to the nozzle or heaterblock can drop onto your model mid-print and ruin it. To remove it, heat the nozzle for three to five minutes at 250 °C so the old plastic softens, then scrub it off with a small brass brush. Any stiff-bristled brush works if you don't have one. Keep the brush away from the hotend cables, since contact could cause a short circuit.
Once you're done, let everything cool. Prusa says it takes roughly 10 minutes to get back to room temperature, and you shouldn't touch anything until the screen confirms it. The third check is the flexible print sheet. Every sheet needs regular cleaning to hold adhesion, but the right method depends on the surface type. Be careful with the special PA Nylon sheet: no acetone, no isopropyl alcohol and no alcohol-based cleaners, Windex included, or you'll damage the surface. A clean sheet also makes dialing in your first layer much easier.
Every 200 Hours: Axes, Belt, Fans and Extruder
Prusa recommends a deeper round of checks every 200 hours of printing. On the X axis, wipe the linear rail with a clean tissue or cloth, with no degreaser or chemicals, since they can damage the rubber in the carriage. Lubricate the rail every three to six months, and only with the dedicated linear rail lubrication set, which includes Microlube GL 261 and a dosing needle. On the Y axis, wipe the smooth rods with a clean paper towel, then add a small amount of Prusa Lubricant. On this printer, the right lubricant really does depend on the axis.
For the belt, Prusa suggests an easy test: print something circular. If it doesn't come out perfectly round, the belt needs adjusting. Both fans have their RPM monitored constantly, so a sudden slowdown, say from a strand of filament caught in the blades, triggers an error. Never bypass that check. Clean the fans every few hundred hours with canned air, never while they're spinning, and pull out stray threads with tweezers. Finally, the extruder's primary gear needs no grease, but its grooves collect filament debris. Clear them with compressed air, a brass brush or a toothpick through the side access hole.
Panels, Filament Sensor and Connector Checks
The enclosure panels need special care. Prusa recommends an alcohol-free cleaner or soapy water. Anything containing alcohol, isopropyl included, weakens the panels with repeated exposure and eventually makes them brittle. So keep your bottle of IPA away from the walls of the machine. If you're using canned air anywhere on the printer, always hold the can upright. Spraying it upside down can damage the very electronics you're trying to clean.
If the Nextruder filament sensor starts giving wrong or random readings, check that everything inside the Nextruder is wired correctly and that no debris sits in the filament path. Tweezers or canned air will clear it. To reach the right side of the LoveBoard, loosen two M3x6 bolts and remove the cover. Every 600 to 800 print hours, Prusa also suggests checking, and if needed reseating, the connectors on the xBuddy board, LoveBoard, heatbed, power supply and xLCD. Make sure screw-attached connectors are fully tightened. On Molex connectors, press the latch before pulling, or you risk breaking the connector.
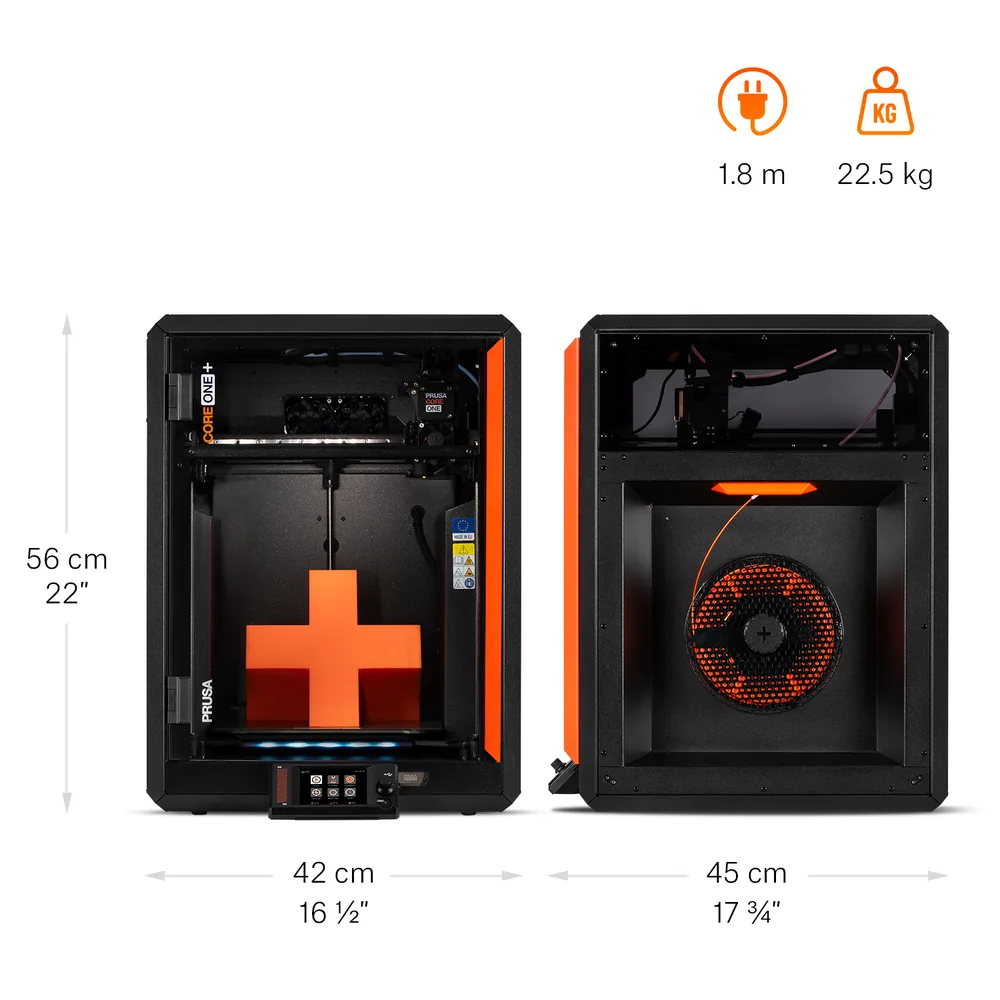
Prusa Research CORE One+
250 × 220 × 270 mm
An enclosed chamber with active heating (55°C), fully automatic first-layer leveling via a load-cell sensor, a Quick-Swap nozzle system, and a 3.5-inch touchscreen; the Gen 2 revision adds GT1.5 belts and a built-in nozzle wiper.
MMU3 or INDX multicolor remains a separate add-on, as does the HEPA filtration needed for ABS and ASA; the internal camera is also optional, not standard equipment.
Specifications and sellerSources and limits
- Prusa Knowledge Base — Regular printer maintenance (CORE One/+)
- Prusa Knowledge Base — Calibrate homing from menu (CORE One/CORE One L/CORE One INDX/XL)
We organize manufacturer and community documentation; we have not measured these products ourselves. The manual for your exact model takes precedence over general guidance.
A clearer shortlist starts with your projects.
Use the free buying checklist and budget worksheet before comparing offers.